

I recently completed the green-carving stage of a walnut bowl. This log was twenty-seven inches long with heartwood about fifteen inches wide. I wanted the rim of the bowl to sweep gently downward from the handles to the middle. When working with a log “upside down” or “bark-side up,” this occurs naturally as the hollow is carved into the curved outer surface of the tree. In this situation, I simply laid out a gentle arc on the upper surface (split side) of the log.
 To lay out such an arc, I first hew and plane flat the bottom surface of the bowl. After marking a vertical center line on each end with a square registered on the top of the workbench, I move the log to the edge of the bench. The center line on the end of the bowl is lined up with a line on the face of the workbench (even extending down the face of the sliding deadman). I can now experiment with various arcs by adjusting the compass. Once I find the one I like, I mark the end grain clearly with a sweep of the compass pencil. Then, keeping the compass set the same, I flip the log around and mark the other end the same way. This layout is visible in the top photo. In the photo to the left, the bowl is already roughed out, but I am showing how the setup would be during layout.
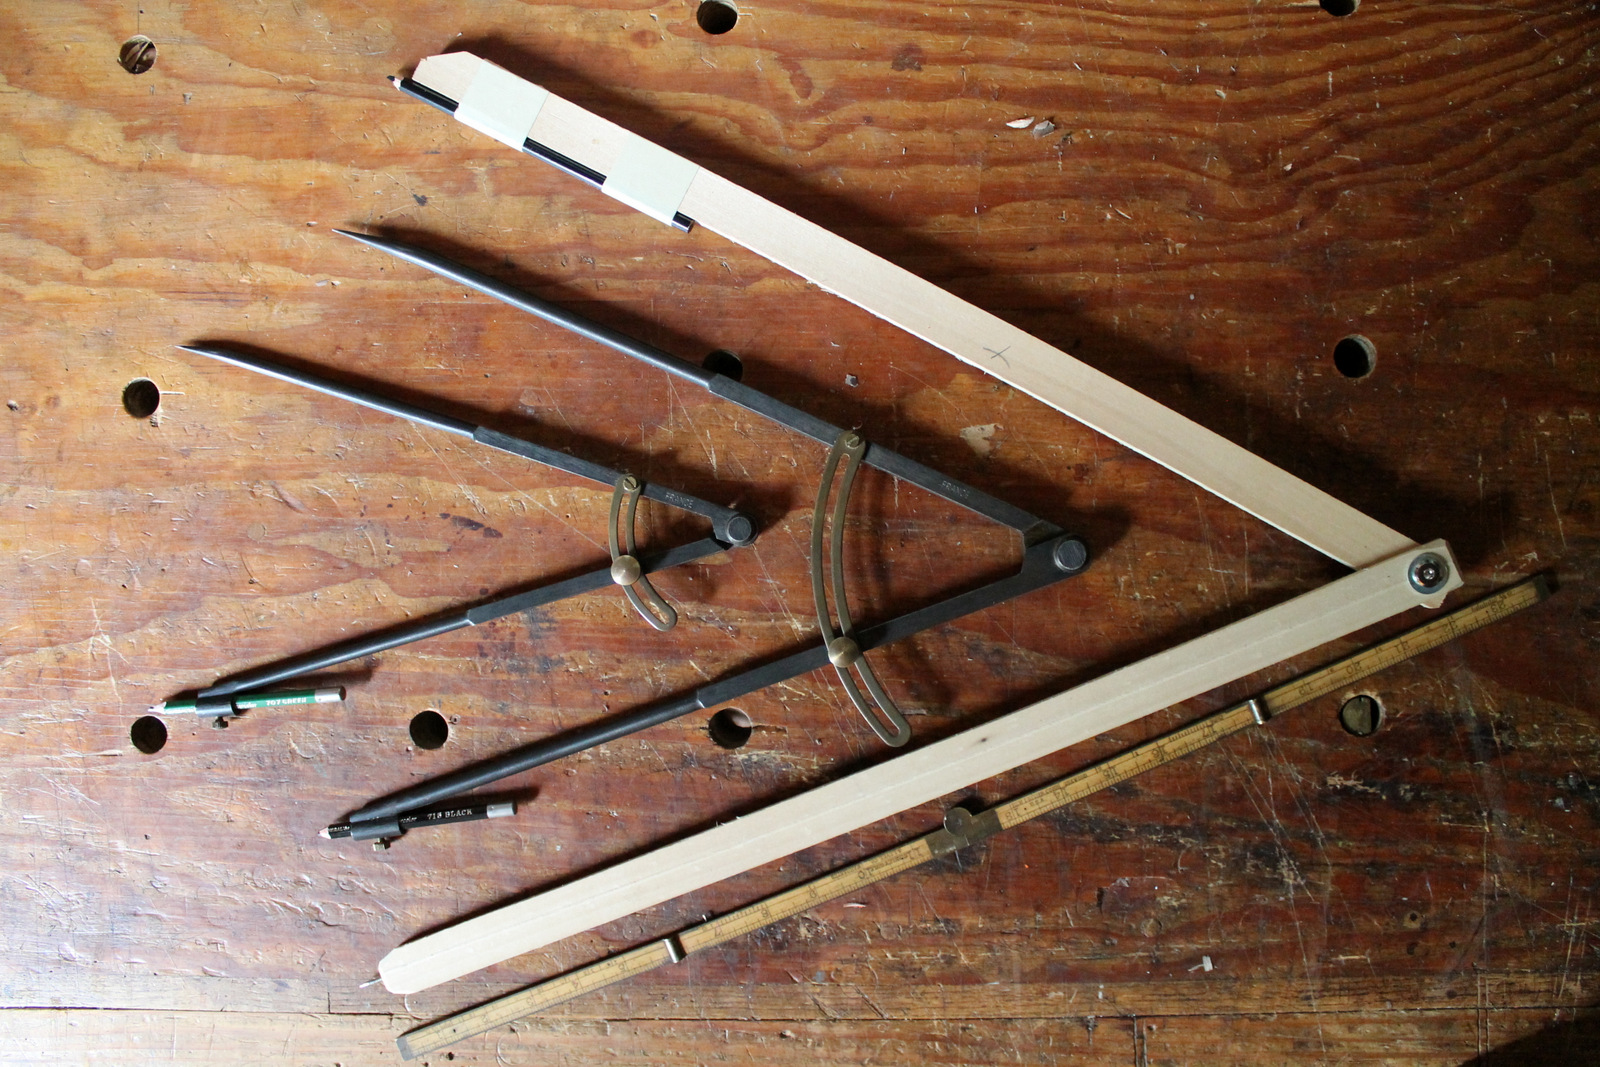 On this bowl, my largest compass wouldn’t open wide enough to create the arc I wanted. I have fiddled around with strings and trammel points before, but I decided to just throw together a quick compass for occasional use with some scraps and a bolt. It really only took about ten minutes, and works fine.
 A steeper arc during layout creates a more dramatic sweep along the handles and rim.
![]() A shallower arc creates a more gentle sweep along the handles and rim.
A shallower arc creates a more gentle sweep along the handles and rim.
Once the arc is laid out, then I hew the excess away before the final refinement with a drawknife. For this big bowl, I got to the final upper surface with a scrub plane (which, in my case, is just an old Stanley jack plane with the iron shaped to a heavy camber) and then a longer plane. Then I lay out the plan-view outline of the bowl onto the arched surface (which also involves compasses) then grab my adze.
 This bowl is so big, that after hollowing with the adze, I tried evening the surface of the hollow with a travisher I’ve used in the past for working chair seats. Worked pretty well. Not a critical tool or step, but it was an interesting experiment. The outer surface has been hewn, and now it’s drying time. After a couple weeks, I’ll revisit it and make some finer chips.

Good stuff David…as always!
LikeLike
Pingback: Close Encounters of the Wood Kind | David Fisher, Carving Explorations
Pingback: White Oak Bowl — Layout | David Fisher, Carving Explorations
Pingback: Rooftop Bird with 12/12 pitch | David Fisher, Carving Explorations
Pingback: Rooftop Bird with 12/12 pitch – Site Title