

I remember first seeing The Serenity Prayer on a trivet that hung on my grandmother’s kitchen wall:
God, grant me the serenity to accept the things I cannot change,
courage to change the things I can,
and wisdom to know the difference.
I remember, even as a boy, being struck by it — the wisdom, not the trivet — and I find that it returns to my mind from time to time and brings perspective and encouragement.
It has been inspiring to see how so many people have changed things to work within our new set of circumstances. Among them are those teachers of craft that rely to a large extent on traveling and teaching. Peter Follansbee, to name one, has begun to expand his video offerings, as he explained in this post. I mention it here, for your benefit. Peter began sharing incredible amounts of information through his blog back in 2008, and has just kept on going, with well over a thousand posts. I was learning from Peter years before I met him, and still am.
After spending some time with Peter, you can have a go at a hen bowl. I was able to get back to my rooftop hens I had started in this post last month. I’ll pick up where I left off for those of you interested in tons of photos of a chunk of walnut getting smaller:
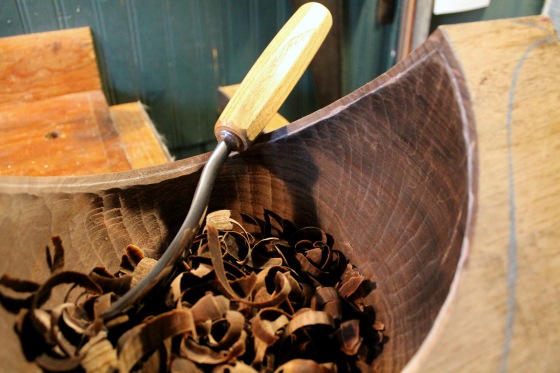
The adze can’t reach effectively into this tight undercut hollow, at least mine can’t. So I continued to excavate and shape with a bent gouge. I also cleaned up the surface of the inner rim and drew a line for the final edge of the hollow.

The tool will tell you when it has reached its limits. For the deepest third or so of the hollow, I switched to a spoon bent gouge. Between both gouges, it’s lots and lots of shavings and assessing with fingertips and eyes until the form of the hollow is nice and full.
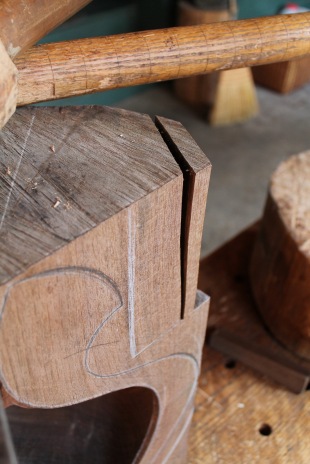
Before I started swinging my axe at the exterior, I took some measures to reduce the chances of knocking off that tail. I made a few crosscuts, then progressively split off chunks of wood down to them.

Leaves something like a Lego look to the back end.

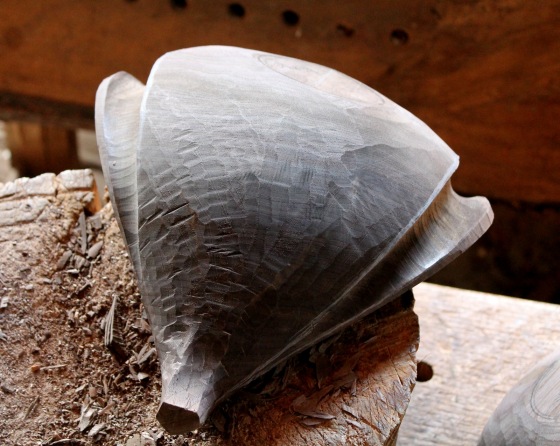
On the front end, I just start in with the axe, knocking off the ridges in distinct planes, which creates new ridges…

…that are taken down, and so on.
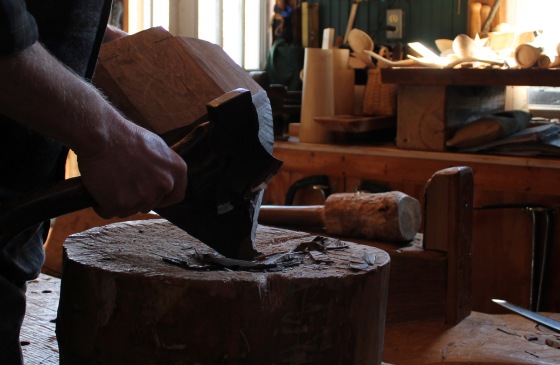
Eventually, the planes become narrower, more numerous, and curved.

The tail end is a little more complicated. I use an adze to go across the grain between the body and the flared tail. I did some more shaping with the axe after taking the photo above.

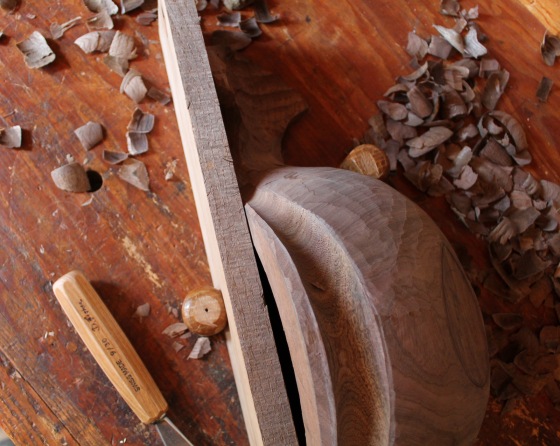
Then I faired the axed surfaces with a spokeshave.

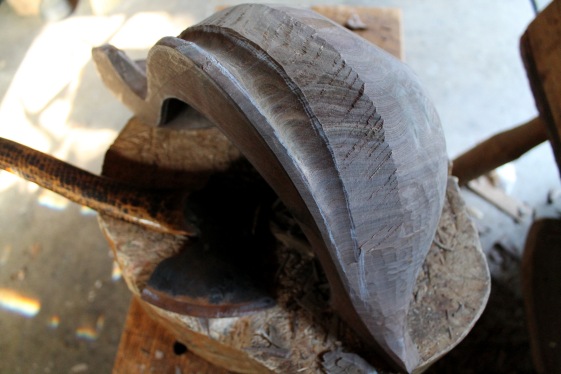
Then it’s time for a gouge and mallet to create a large channel under the wings.
Here it is from above. You’ve got to work downhill with the grain. I just flipped to the other side of the pegs for the opposite two corners.
Now it was time to reshape that wide body.

I marked a rough line on the lower side of the channel.
Then removed much of the material with the axe…

…and cleaned up with the spokeshave.
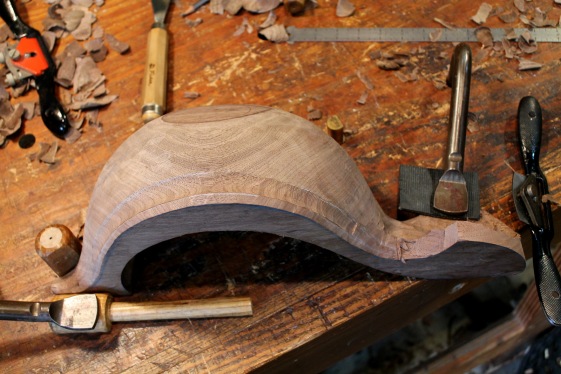
Pegs and holdfasts, you can do just about anything with them. Here I was shaping the tail a bit more and scooping beneath it.

There’s two of these going now, with slightly different proportions. They’ve been drying for a few days. I’ll get back to them for some flute carving and lots more fun, heading toward something like this:
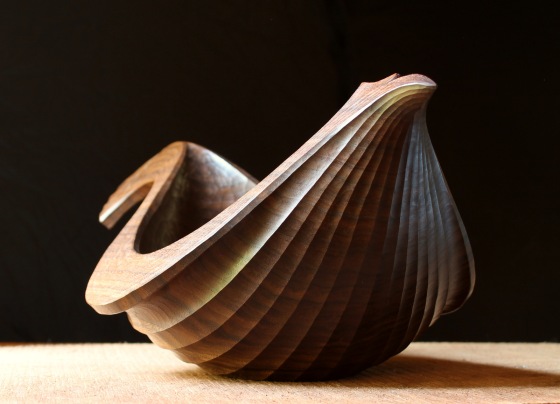
A good way to start is with a smaller version in a softer wood. The one below is only about eight or nine inches long and can be carved mainly with the same kit you’d use for spoon carving.


It might give your mind a break from those things you can’t change.

Thank you for this post Dave. Encouraging in more ways than one. Hope all is well
LikeLiked by 1 person
Thanks Eric. We’re okay here. Hope you and your family are well.
LikeLike
I was begining to think I was the only one to use a spoke shave on the out side of bowls and such.
LikeLiked by 1 person
Works great for fairing surfaces, and, set heavy, can remove green wood quickly. I rarely use it as the tool for the final cuts, though that certainly is an option.
LikeLike
As you say; not for final cuts. I get close. Then I scrape and burnish to get rid of the tool marks.
LikeLike
… a smaller version in softer wood … for practice.
Great suggestion Dave! Thanks. [I think I have a block of basswood that will do.]
Wife suggests they be roosters, not hens.
LikeLiked by 1 person
Yeah, I wonder about that too. How about “chickens?”
LikeLike
My basswood block is certainly chick size. 🙂
LikeLike
Your posts are always a treat to the eyes and mind. Thanks Dave. Can’t wait til this thing is over and we can all get together again!
LikeLiked by 1 person
I’ll be looking forward to that Nathan! Thanks.
LikeLike
Thank you for the posts. I always enjoy reading them. You do beautiful work and your thoughtful approach to work and life is both calming and enlightening. Thank you for sharing. Hope you and your family remain both physically and mentally healthy in these times. Serenity Prayer is PERFECTO! michelle marguerite
LikeLike
Love those breast feathers
LikeLike
Pingback: Little Hens | David Fisher, Carving Explorations
Pingback: Curves and Chamfers | David Fisher, Carving Explorations